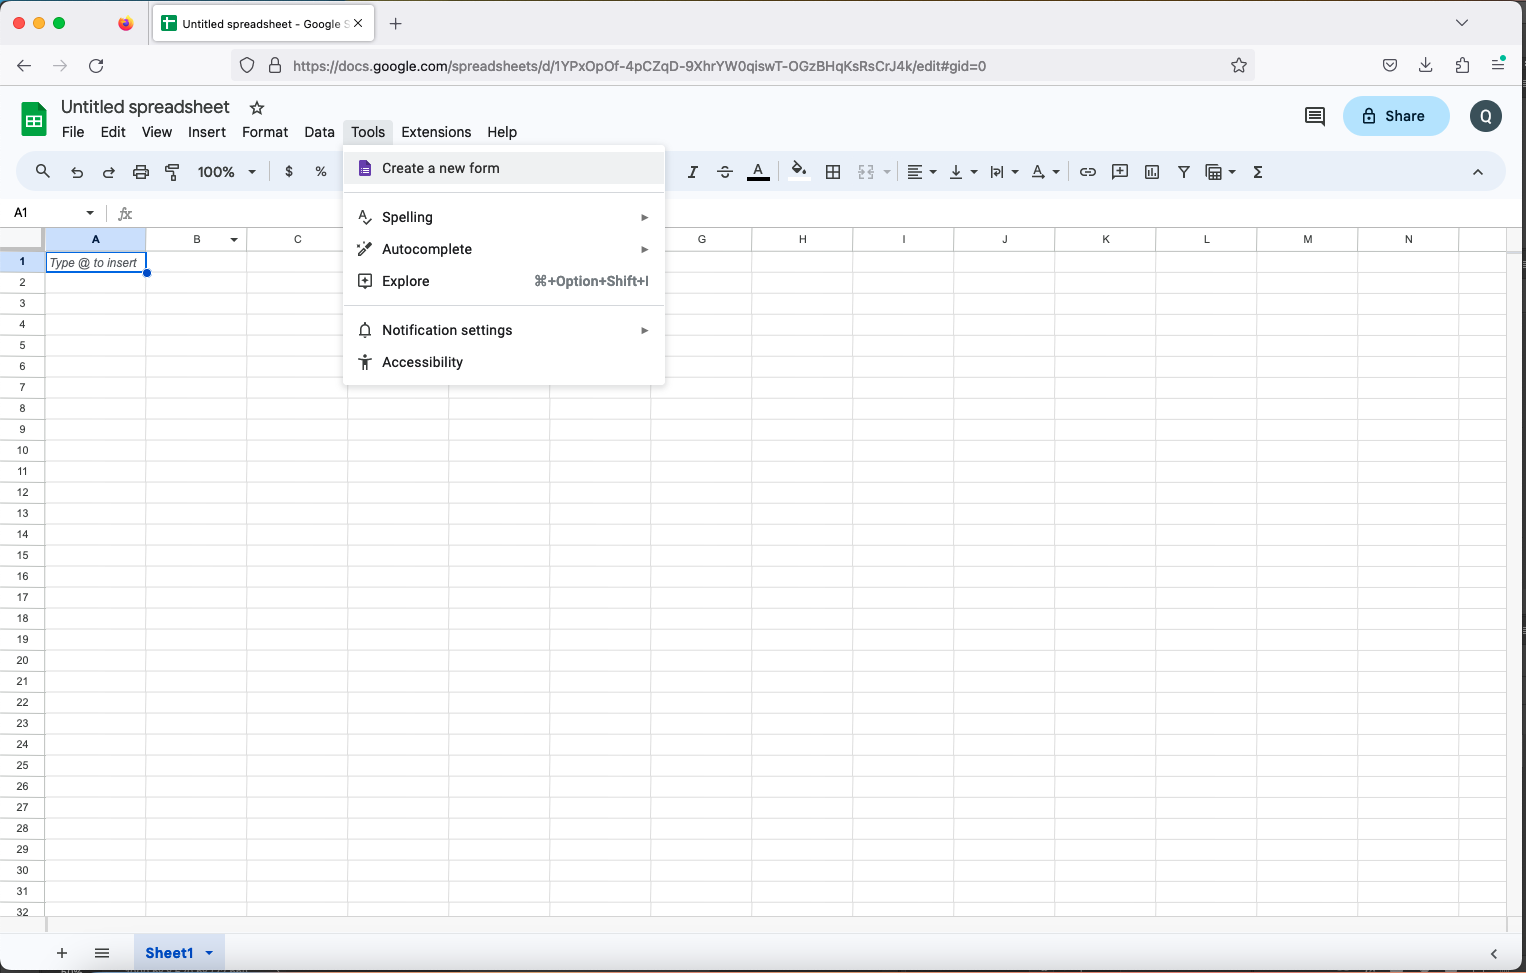
Spreadsheets are powerful tools for organizing, analyzing, and visualizing data. Whether you’re a beginner or new to spreadsheet software, this step-by-step guide will help you create a spreadsheet using both Google Sheets and Microsoft Excel.
Google Sheets:
Step 1: Access Google Sheets
- Open your web browser.
- Go to the Google Sheets website (https://sheets.google.com).
- Sign in with your Google account or create one if you don’t have one.
Step 2: Create a New Spreadsheet
Click on the “+ Blank” option to create a new blank spreadsheet.
Step 3: Understand the Interface
Google Sheets consists of rows, columns, and cells. Rows are numbered (1, 2, 3…), columns are labeled (A, B, C…), and cells are the individual boxes formed by the intersection of rows and columns.
Step 4: Enter Data
- Click on a cell to select it.
- Start typing to enter data. Press “Enter” to move to the cell below or “Tab” to move to the cell on the right.
- Example: Type “Name” in cell A1 and “Age” in cell B1.
Step 5: Format Your Spreadsheet
You can format cells to make your spreadsheet look better and convey information clearly. Here are some common formatting tasks:
- Bold, Italics, and Underline: Highlight text and use the formatting options in the toolbar.
- Font Size: Change font size using the drop-down menu in the toolbar.
- Alignment: Align text left, center, or right using the alignment icons in the toolbar.
- Borders and Background Color: Select cells, then use the “Border” and “Fill color” icons in the toolbar.
Step 6: Insert Rows and Columns
- Right-click on a row number or column letter and choose “Insert 1 above” or “Insert 1 below” (for rows) or “Insert 1 left” or “Insert 1 right” (for columns).
- Example: Right-click on row 2 and insert a row above.
Step 7: Save and Share
- Your spreadsheet is automatically saved to your Google Drive.
- To share, click the “Share” button in the top right, enter email addresses, and set permissions.
Microsoft Excel:
Step 1: Access Microsoft Excel
- If you have Microsoft Office installed, open Excel.
- If not, you can use Excel Online by going to the Microsoft Office website (https://office.com) and signing in with a Microsoft account.
Step 2: Create a New Workbook
Click “Blank Workbook” to create a new empty workbook.
Step 3: Understand the Interface
Excel’s interface is similar to Google Sheets, with rows, columns, and cells.
Step 4: Enter Data
- Click on a cell to select it.
- Start typing to enter data. Press “Enter” to move to the cell below or “Tab” to move to the cell on the right.
- Example: Type “Name” in cell A1 and “Age” in cell B1.
Step 5: Format Your Spreadsheet
Excel offers extensive formatting options:
- Font Formatting: Use the Font group in the Home tab to change font size, style, and more.
- Alignment: Modify text alignment using the alignment icons in the Alignment group.
- Borders and Shading: Use the Border and Fill Color options in the Font group.
Step 6: Insert Rows and Columns
- Right-click on a row number or column letter and choose “Insert” to add a row or column.
- Example: Right-click on row 2 and insert a row above.
Step 7: Save and Share
- Click “File” in the top left.
- Choose “Save As” to save your workbook to your computer or “Save a Copy” to save it to OneDrive.
- To share, click “Share” in the top right, enter email addresses, and set permissions.
Congratulations! You’ve created a spreadsheet in both Google Sheets and Microsoft Excel. With practice, you’ll become more comfortable using these powerful tools for data management and analysis.


 One Food That Could be Causing You Problems in the Bedroom
 Now Legal in All 50 States
 Obliterating Nerve Pain Naturally
 Ringing Ears?? Try this…


Leave a Reply